Featured Recipe
Holiday Red Velvet Layered Dessert
By Kate
"
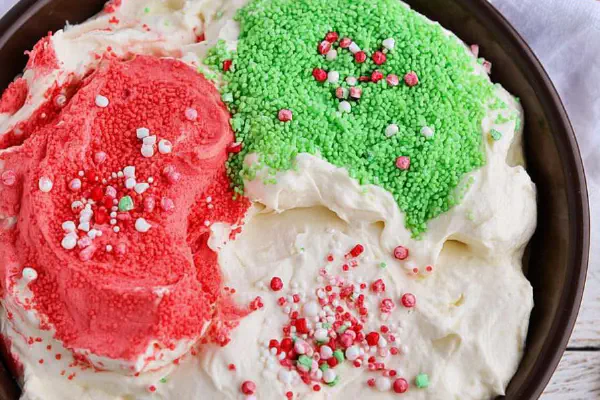
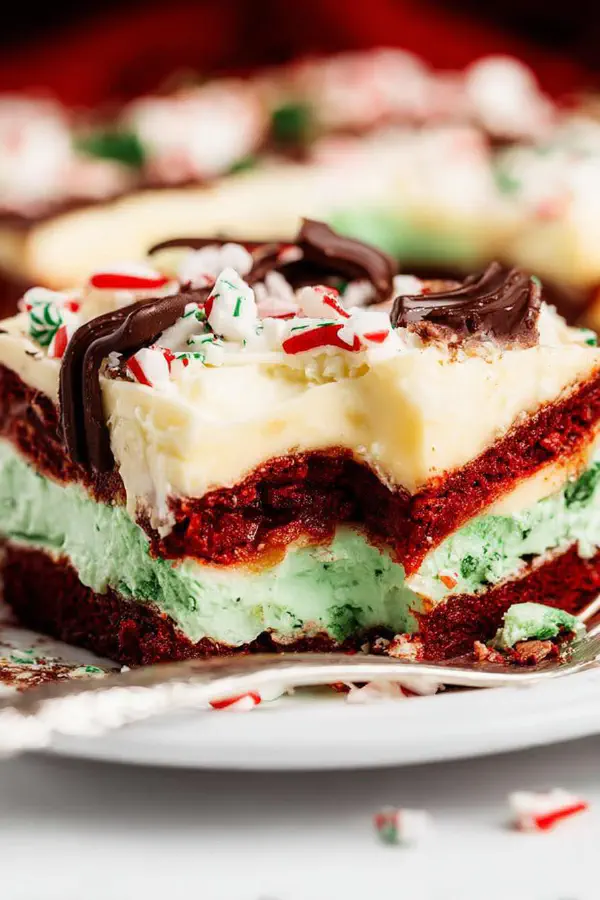
A multi-layered festive dish mixing red velvet brownie base, creamy cheese layer, and a minty green pudding topping, finished with whipped cream and Andes mint crunch. Unique twist swaps some ingredients and adjusts flavors for balance. Visual contrast with vibrant green and deep red. Textural play with dense cake, creamy layers, and cool whipped topping. Chilling critical to firm layers before serving. Baking cues emphasize toothpick test and color changes. Cooling prevents mixing layers when assembling. Peppermint extract replaced by orange and almond extracts for subtle spice warmth. Coconut oil replaces vegetable oil for nuanced richness. Pudding mix switched to lime for a citrus brightness twist. Tricks include slight timing shifts and chilling reminders. Layer gently to avoid color bleed or muddiness. Serves 12 with rich mouthfeel and fresh festive bite.
"
Prep:
12 min
Cook:
22 min
Total:
4h 34min
Serves:
12 servings
holiday
dessert
layered
festive
Introduction
Red velvet cake but not quite. Thicker, denser undercurrent, brownie-like base. Cream cheese layer—no shortcuts; proper beating critical. Lump-free, creamy body means fussing worth it. Pudding layer turned lime—why? Adds unexpected brightness, cuts through richness. Not peppermint this time but almond for warmth. Chill between steps, always chill—never rush layering. Cool Whip spread last for airy finish, balance weight below. Andes mints crushed but no dust—texture retained deliberately. Edges of pan get crisp; watch baking curves, not just minutes; toothpick wet crumbs good cue. Layering calls for patience and steady hands. Serve straight from fridge, flavors marry better cold—slightly softer, optimal taste experience. Twelve servings that vanish fast. Keeps well; leftovers even better next day.
Ingredients
In The Same Category · Festive Foods
Explore all →

About the ingredients
Coconut oil instead of veg oil adds faint nutty depth and helps bake cake moister with light chew. Lime instant pudding swaps for peppermint to brighten palate, tension sweeter cream cheese behind. Almond extract lends complexity with warm undertones in pudding, subtle yet noticeable. Using whole milk, never skim, ensures pudding thickens perfectly, avoiding runny layers. Powdered sugar must be sifted; no exceptions. Lumps here translate to grainy texture in cream cheese layer. Cool Whip can be swapped for homemade whipped cream stabilized with gelatin for fresher version, though store-bought remains practical. Red velvet cake mix remains base, no homemade cake here, trades time for consistency. Chopped Andes mints add mandatory textural contrast; candy chopped unevenly, chunkier bits preferred over dust to provide crunch bursts and visual interest.
Method
Technique Tips
Oven temp lowered 5 degrees to protect moisture, keep red velvet deep red, prevent cake edges from crisping too hard. Coconut oil used liquid, stirred carefully into dry mix; cold solid oil creates unmixed pockets risking uneven baking. Bake until toothpick indicates moist crumbs, never fully dry—too dry kills mouthfeel. Cooling crucial after bake, still warm cake tricks you into half-set layers getting mixed during assembly. Beat cream cheese with patience, medium speed rather than fastest; overbeating creates air pockets, underbeating yields lumps. Immediately refrigerate after preparation, keeps firmness needed for neat layering. Pudding mix whisked until thick, gel food color added gradually—too much creates off-putting hues. When layering pudding atop cream cheese, gentle spreading mandatory; fast spreading perturbs layers causing bleeding colors, muddiness. Whipped topping spread with gentle strokes, avoid aggressive pressing. Chilling minimum 4 hours ensures clean slicing; slices fall apart if cut prematurely. Always use a clean, warmed knife between slices to avoid dragging layers.
Chef's Notes
- 💡 Chilling is key; layers need to firm up. Warm layers mix together. Cool down cake thoroughly before spreading cream cheese. Less mess today.
- 💡 Sift powdered sugar. Avoid lumps in cream cheese layer; could ruin texture. Beaten too long? Air pockets will appear; stop at smooth.
- 💡 Use larger chunks of Andes mints. Better crunch. Don't overprocess; keep some work. Bigger pieces for contrast, dust ruins crunch effect.
- 💡 Watch baking time; edges should set but not dry out. Oven temp slightly lower to keep color. Dry lost flavor, moist crumb vital.
- 💡 Knife choice matters; serrated is best for clean edges. Wipe between slices to avoid dragging layers. Cut straight from fridge; easier slicing.
Kitchen Wisdom
Cake sticks to pan?
Spray well or line with parchment paper. Always a must. Sticking ruins the layers; avoid disaster.
Cream cheese layer too lumpy?
Beat longer. Sift sugar first; lumps lead to grainy texture. It's frustrating. Make sure you get it smooth.
What if pudding mix is runny?
Less milk or whisk longer. Consistency matters; no one wants puddles. Add more lime zest for flavor boost.
Leftovers—and storage tips?
Keep chilled in fridge; lasts up to 3 days. Avoid freezing. Texture changes. Not the same dessert.
You’ll Love These Too
Explore all →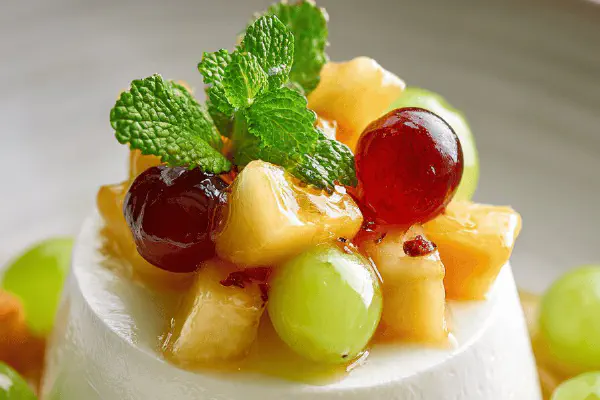
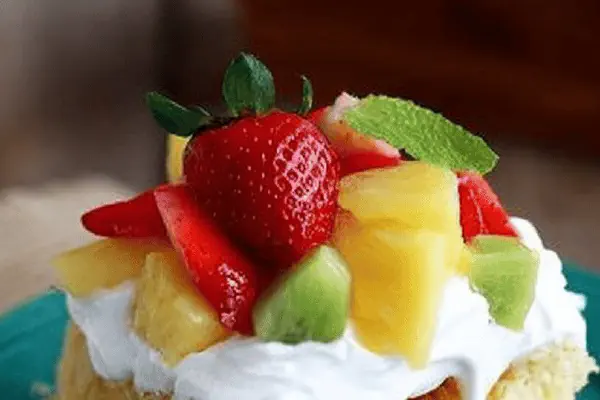
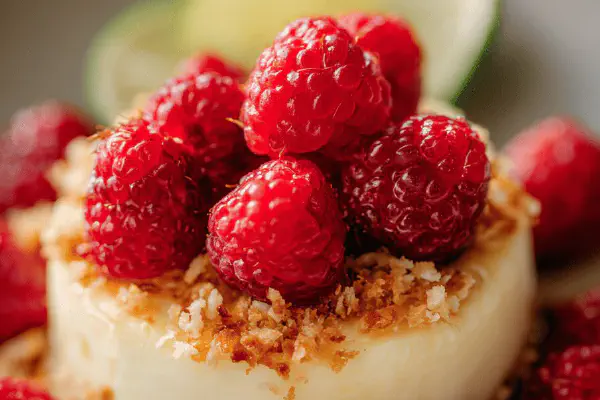
Light Yogurt Mousse with Fruit Salad
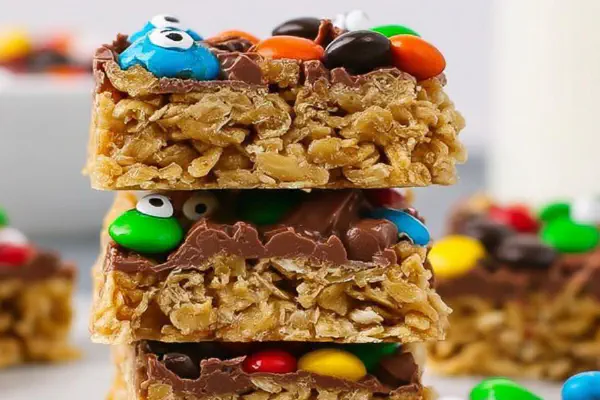
No-Bake Peanut Monster Bars
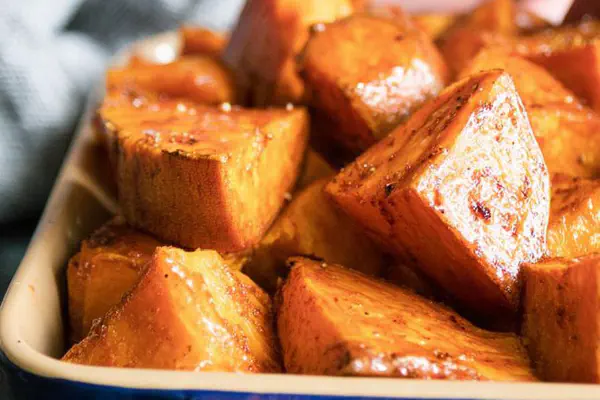
Honey Cinnamon Roasted Yams

Shrimp Creole Remix
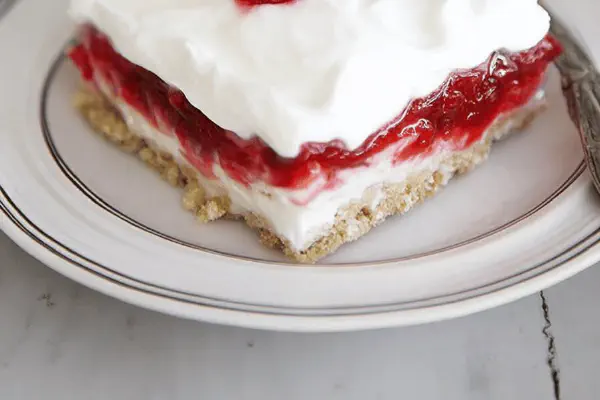
Strawberry Cream Bars

Ancho Citrus Salmon Twist
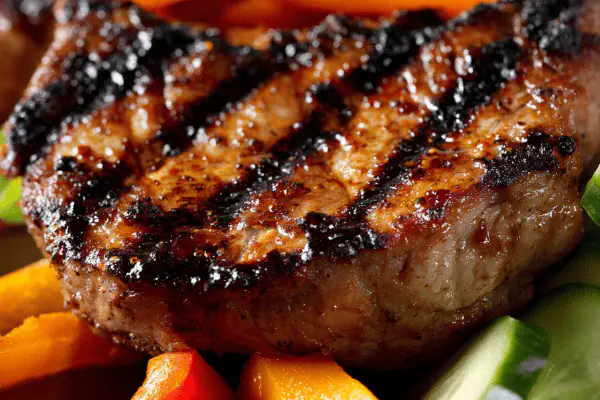
Vietnamese Pork Chops Twist
Mushroom Tart Twist
Veal Meatball Sub Twist
Spiced Peach Freezer Jam
Zesty Charred Tomatillo Salsa
Caramel Apple Cupcakes Remix
Kefir Berry Breakfast Bowls
Oreo Cream Freeze Cake
Horseradish Deviled Eggs Remix
Spiked Nutty Cream Float
Oatmeal Cream Sandwiches

Sweet Potato Breakfast Muffins
Twisted Colcannon Mash
Tangy Vinegar Slaw
Coconut Tres Leches Poke Cake

Air Fryer Spiced Chicken Breast
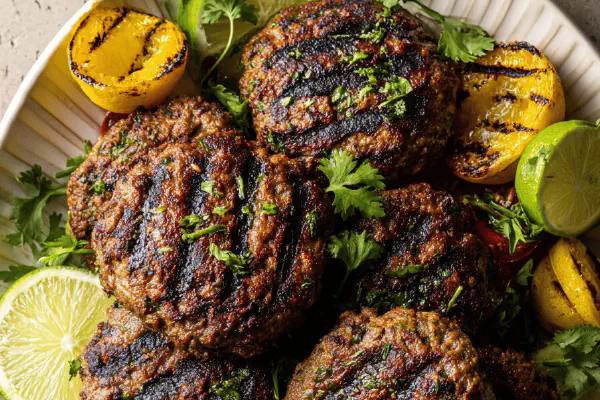
Spiced Lamb Patties with Charred Citrus
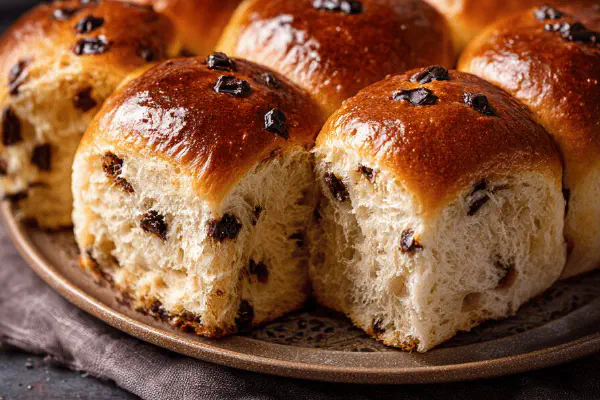
Chocolate Brioche Buns
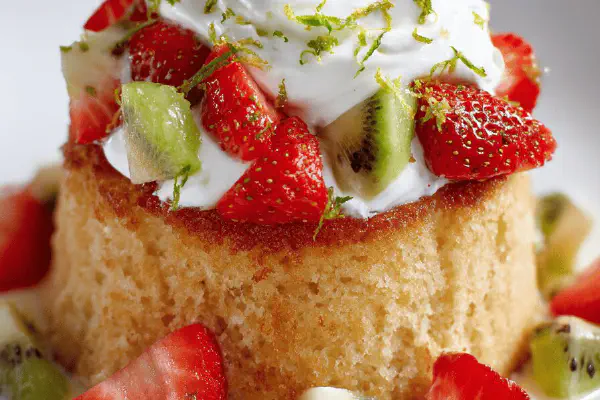
Strawberry Melon Tres Leches
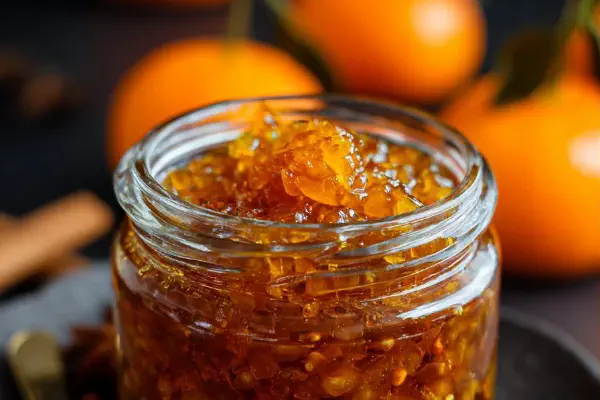
Spiced Clementine Marmalade
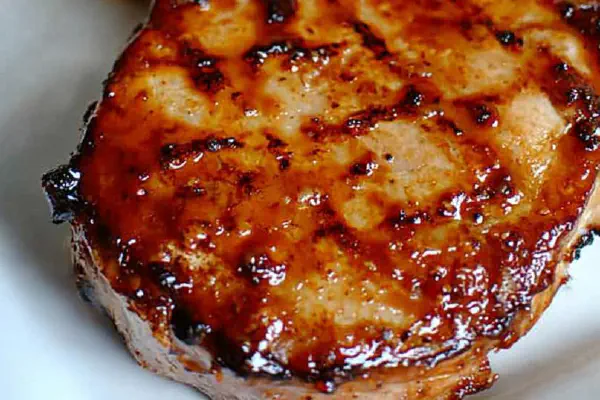
Pan-Seared BBQ Pork Chops & Loaded Potato Salad

Rustic Garlicky Tomato Sauce
Slow Cooker Cheesecake Twist
