Featured Recipe
Homemade Rustic Pizza Dough
By Kate
"
Yeast dough for two 22 cm (9 in) pizzas with a chewy crust. Uses warm water, active dry yeast switched from instant, and whole wheat flour replaces half all-purpose for earthy notes. Sugar swapped for honey to feed yeast naturally. Salt reduced to balance yeast activity. Doubles hydration slightly for softer crumb. Requires a longer proof, but yields better texture and aroma. Refrigerate or freeze dough for convenience. Dough manipulations and final shaping tips included to avoid tough crust. Suitable for vegan, dairy-free diets. Adaptable with all-purpose flour. Ideal timing cues stressed over timers.
"
Prep:
15 min
Cook:
12 min
Total:
50 min
Serves:
2 pizzas 22 cm
pizza
dough
baking
homemade
Italian
Introduction
Cold doughs, slow fermentations, these are keys to step up basic pizza game. Switched instant yeast for active dry because flavor runs deeper over longer proof. Added whole wheat flour replacing half white to lend nuttiness and structure. Honey replaces sugar — natural yeast food, subtle caramel notes. Dough hydration boosted just a tad. Why? Easier stretch, lighter bite. Dough warms and rises with patience; ignoring this yields dense pizza base. Watch bubbles bloom on dough surface during proof. Still sticky but manageable dough means you hydrated well. Over-flouring ruins elasticity, under-kneading leaves dough slack, dense. Batch makes 2 pizzas just over 20 cm; tweak thickness by dough ball size. Cold-proofed dough stores 2 days refrigerated, perfect for ahead prep. Freeze for longer stashes. Circle shape formed last minute with fingers, not rolling pin to preserve air pockets in crust. Don’t rush. The sizzling crust and yeasty aroma signal when pizza is on point.
Ingredients
In The Same Category · Homemade Breads
Explore all →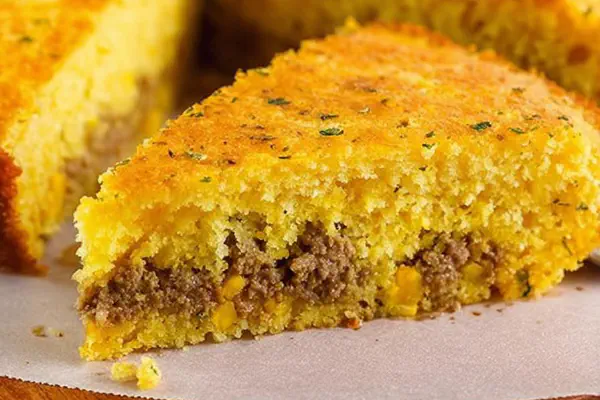
Hearty Tex-Mex Cornbread
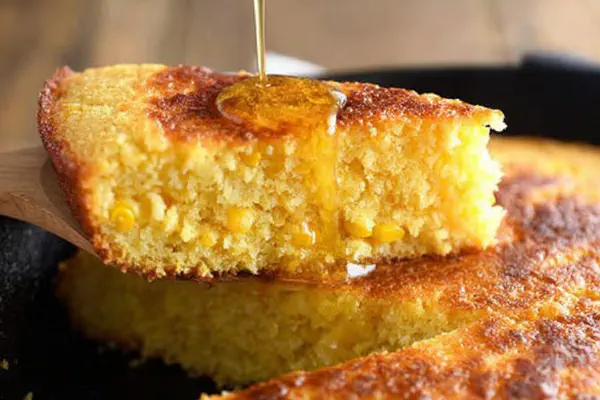
Lazy Skillet Creamed Cornbread

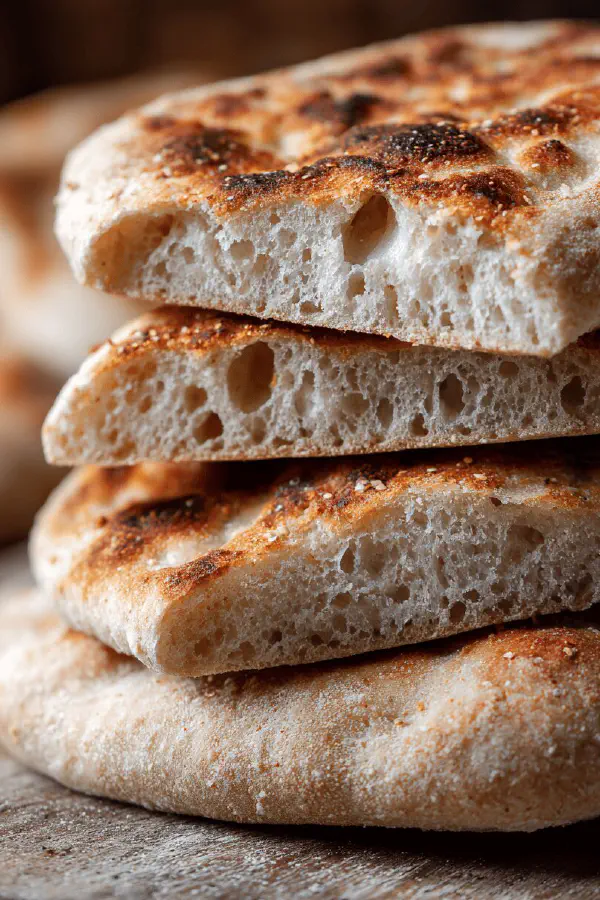
Rustic Pizza Dough
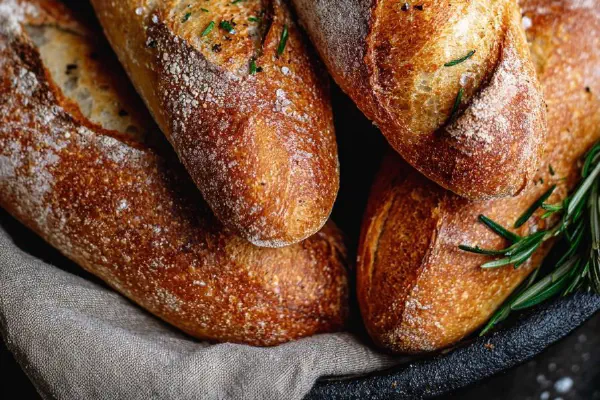
Rustic French Baguettes
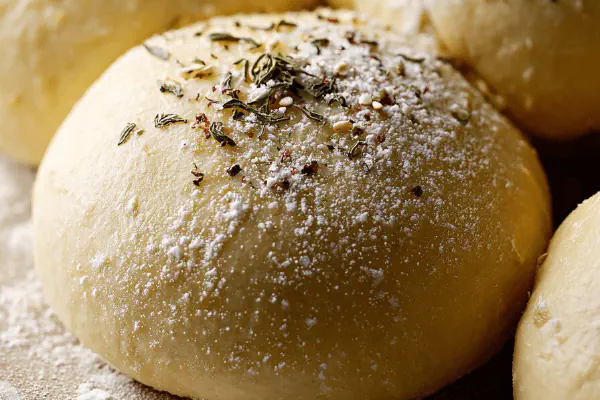
Basic Vegan Pizza Dough

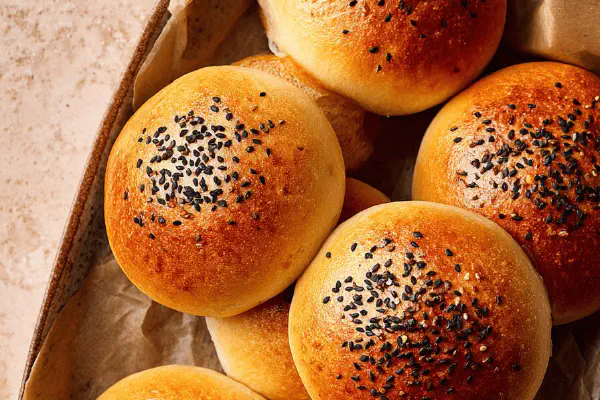
Buttery Dinner Rolls Twist
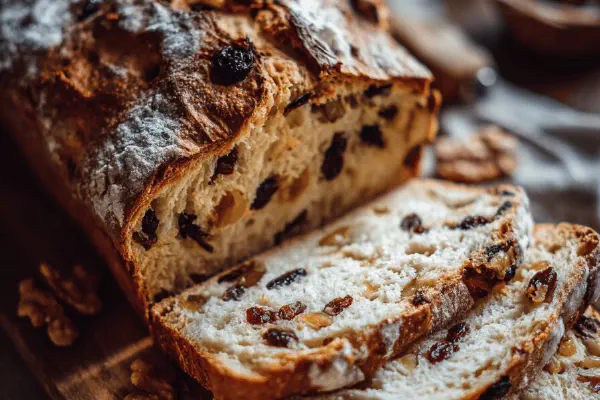
Twisted Kouglof

Garlic Rosemary Pull-Apart Rolls
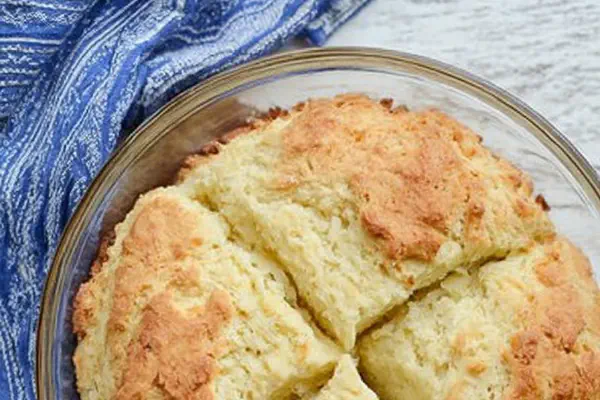
No-Yeast Potato Bread
Sesame Bagels with Molasses Twist
Rosemary Garlic Focaccia Twist

Twisted Iron-Crust Cornbread
Honey Butter Rolls
Keto Cloud Bread Twist
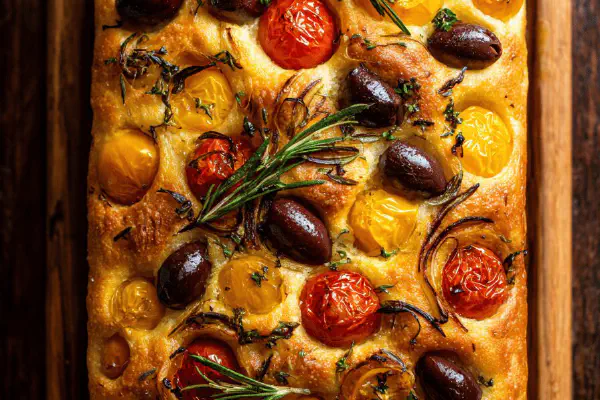
Cherry Tomato Focaccia
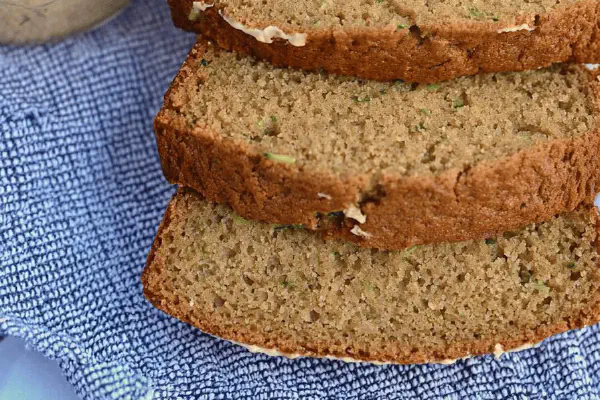
Spiced Apple-Zucchini Loaf
About the ingredients
Warm water temp should feel like warm bath, 38–40 C max. Too hot kills yeast instantly. Active dry yeast needs blooming, taking 5–7 minutes in honey water mixture to wake up cells. Honey replaces sugar adding complex fuel, no overpowering sweetness. Whole wheat flour adds fiber and chew, but adjust liquid due to more absorption. All-purpose flour balances gluten strength, maintaining stretch without tough bite. Salt is reduced, because yeast activity is delicate with whole wheat and honey — too much salt slows fermentation. Flour measurement by weight always recommended; volume fluctuates with humidity and scoop technique. Oil in bowl prevents drying skin on dough surface during proofing. Double wrapping fridge dough keeps odors out and prevents drying. Flour dusting at shaping stage prevents sticking but don’t overdo.
Method
Technique Tips
Activate yeast separately; that foam signals live cultures fermenting sugars—is your biological clock for dough readiness. Mixing flours first prevents patchy gluten formation, better texture. Proper kneading develops gluten strands, essential for that classic chew and stretch. Feel dough elasticity by poking gently—bonded gluten springs back slowly but fully. Covering dough tightly traps moisture, prevents dry skin that disrupts rising. Let dough proof till doubled; under-proofing leads to dense crust, over-proofing collapses structure, sour flavors. Dividing dough by weight ensures even pizza size and uniform cooking. Resting dough balls post-divide relaxes gluten for easier stretching without recoil. Handle dough lightly—vigorous manipulation deflates air bubbles responsible for nice crust pores. Cold storage slows yeast but deepens flavor, extending dough life. Adjust hydration based on ambient humidity and flour type—too wet is sticky, too dry is tough to stretch. Baking on hot surface delivers crispy base; listen for crackling sounds, visual bubbles indicate heat interaction in crust. Pull pizza out once bottom browns and bubbling halts, avoids overcooking toppings.
Chef's Notes
- 💡 Kneading matters; 5 minutes vigorous can bring elasticity. Don't over-knead; tough crust. Stop when it bounces back. Feel for elasticity. Warm water helps yeast wake.
- 💡 Bubbles mean yeast is alive. If surface shines, good sign. A gentle press should leave an indentation, then spring back slow. Don't rush—patience enhances flavor.
- 💡 Use weight, not volume for flour. Measuring flour differently affects hydration. Whole wheat absorbs more water. Adjust liquid based on flour type, humidity.
- 💡 Always test dough stickiness at shaping. Light dusting of flour helps; too much ruins elasticity. Sticky but manageable indicates good hydration.
- 💡 Baking surface needs heat—oven temp at 250 C. Preheat stone or inverted baking sheet. Listen for crackling. Brown spots mean it’s time to take pizza out.
Kitchen Wisdom
What if dough is sticky?
Light flour on hands. Too much flour can toughen crust. If too dry, hydrate slowly; adjust water. Too wet? Handle gently.
How can I store leftover dough?
Refrigerate for 48 hours—flavor deepens. For longer, freeze. Wrap well. Thaw overnight; let reach room temp before use.
My dough didn’t rise enough. Why?
Check yeast; dead yeast means no rise. Temperature—cold spots slow proofing. Allow ample time. Don’t under-proof.
Can I use instant yeast?
Yes, but flavor differs. Active dry yeast brings depth. Adjust proofing times; instant yeast can rise quicker. Keep an eye on dough.
You’ll Love These Too
Explore all →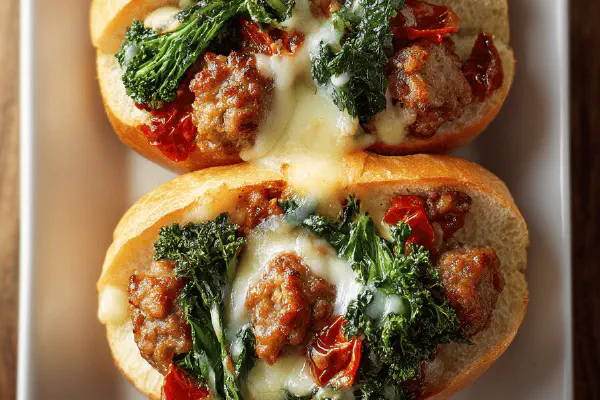
Sausage Rapini Subs
Turkey Ravioli Bake
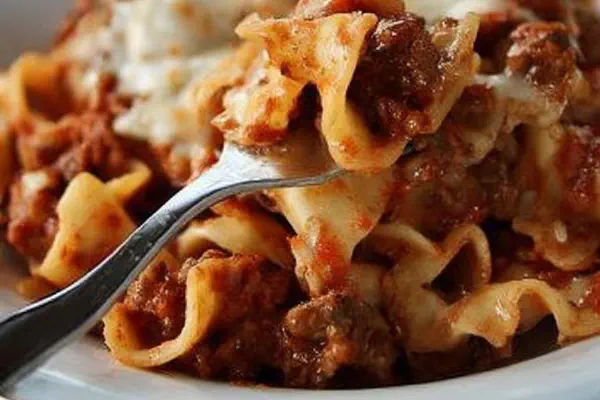
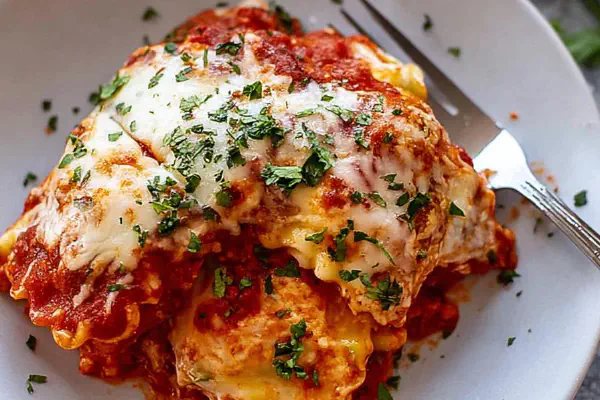
Creamy Beef Lasagna Bake
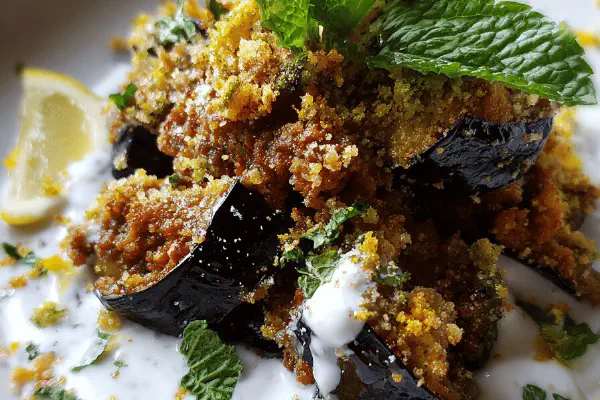
Eggplant Moussaka Remix
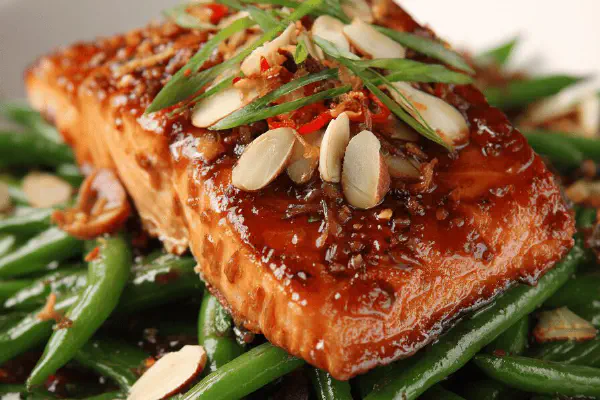
Salmon Teriyaki Twist
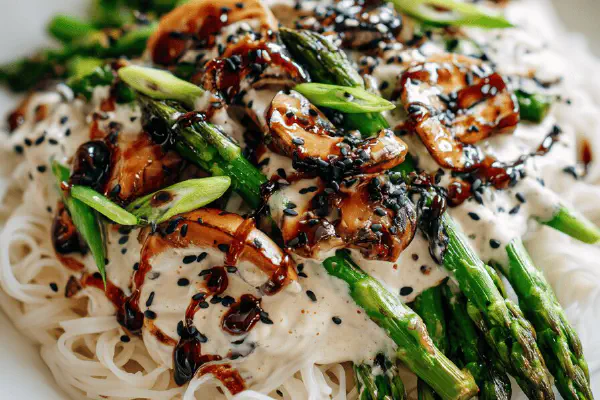
Toasted Sesame Sauce Remix
Oatmeal Raisin Cookies Remix
Garlic Sautéed Zucchini Medley
Bucatini Tomato Clams Twist

Hearts Palm Patties Remix
Grilled Chicken Spinach Salad
Sheet Pan Cinnamon Rolls Remix
Garlic Parmesan Chicken Twist

Tropical Lime Cooler
Roast Lamb Leg with Buckwheat Honey and Golden Carrots
Spiced Sweet Potato Mash

Spicy Crispy Chicken Bites
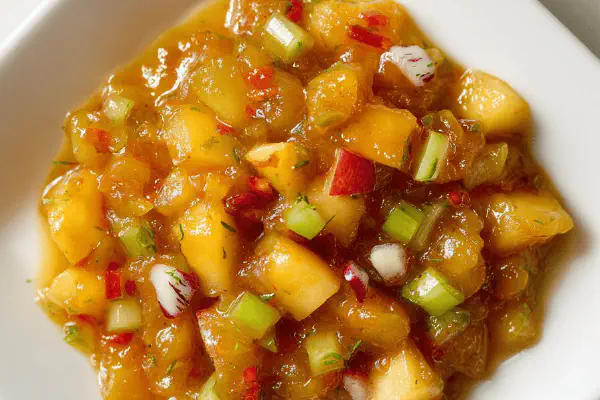
Fruity Sea Buckthorn Chutney
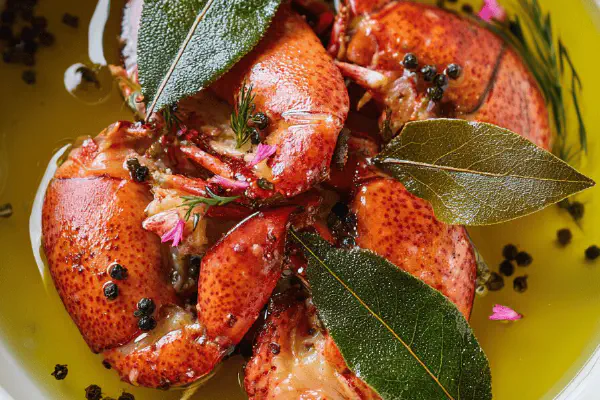
Lobster Oil Twist
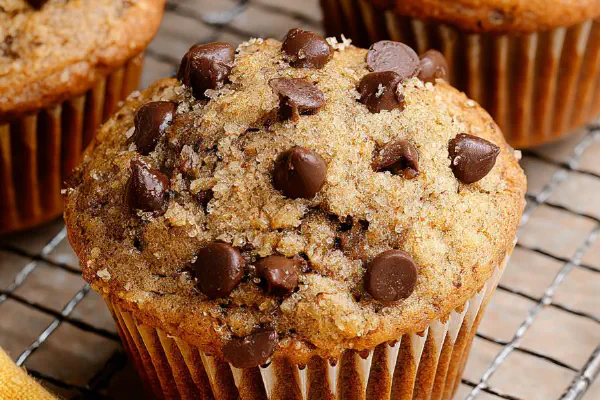
Banana Choco Muffins

Mexican Scrambled Tofu Twist
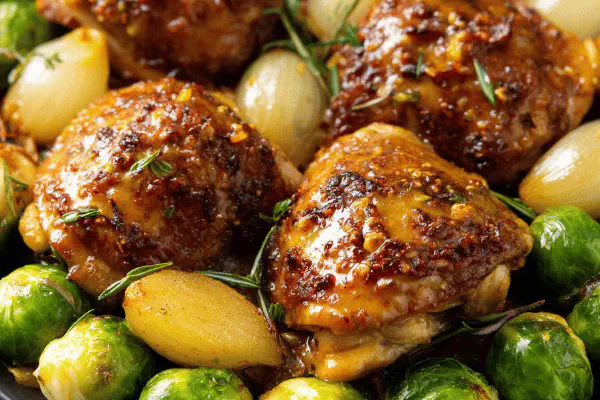
Honey Mustard Chicken Thighs
Rosy Cider Chicken

Apple Cinnamon French Toast

Smoky Kentucky BBQ Sauce

Frozen Strawberry Cream Puff Pastry

Spiced Beef Tortilla Salad
Cranberry Pineapple Mold
Beef Mushroom Sandwiches with Quick Pickled Slaw