Featured Recipe
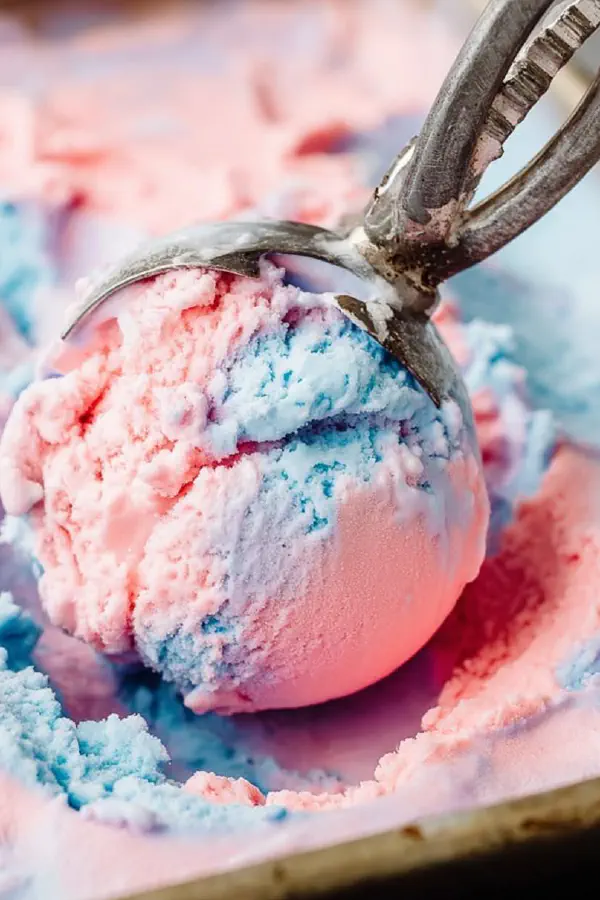
No Churn Swirled Ice Cream
By Kate
"
Whipped cream and sweetened condensed milk base, split and tinted. Swirls of contrasting colors for visual impact. Skip the ice cream maker; freezing sets the soft peaks. Cotton candy extract is swapped for raspberry and lemon extracts. Blue food dye replaced with green. Frozen 1 hour longer for firmer texture. Keeps kitchen simple, minimal cleanup. Parchment-lined pan essential to easy removal. Swirling technique adds marbling without overmixing. Chill with cling wrap directly on surface prevents ice crystals. Perfect for quick treat when freezer is ready.
"
Prep:
20 min
Cook:
0 min
Total:
2h 20min
Serves:
8 servings
dessert
ice cream
no churn
summer treat
Introduction
Whipping cream, condensed milk—the base foundation for no churn ice cream. The whipped peak stage crucial: soft peaks mean mix holds shape but is still pliable enough to fold in sweetened milk. Gel colors do better than liquids here—no watering down. Split that batter, color half pink, half green for color drama. The swirling steps? Don’t overthink. Controlled swirls make those pretty marble lines. Swirling too much turns magic into murky gray. Cling wrap right on top stops the freezer burn. Patience during chilling? The key to scoopable, creamy texture. Worth the wait. Works in any kitchen without fancy gear. And never underestimate parchment-lining for an easy out. Simple tricks for big impact. Add a zingy twist swapping cotton candy extract for raspberry and lemon to lift flavors. When cold meets sweet, chaos becomes order.
Ingredients
In The Same Category · Sweet Treats
Explore all →
Pumpkin Cream Cheese Cookies
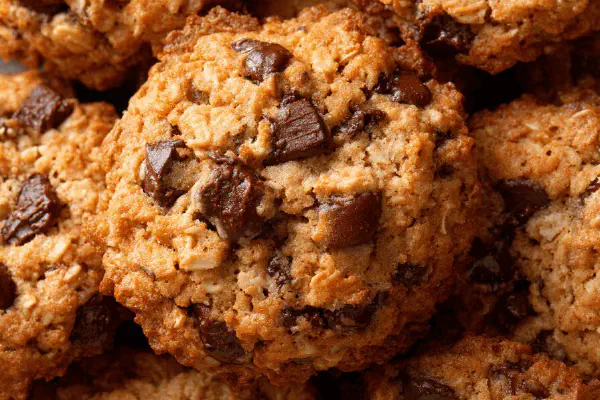
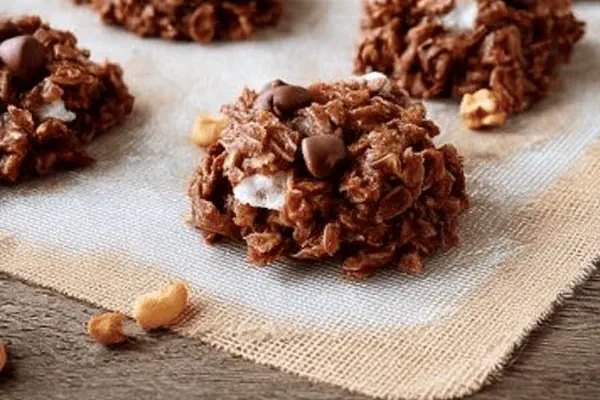
Oat Chocolate Chip Air Fryer Cookies
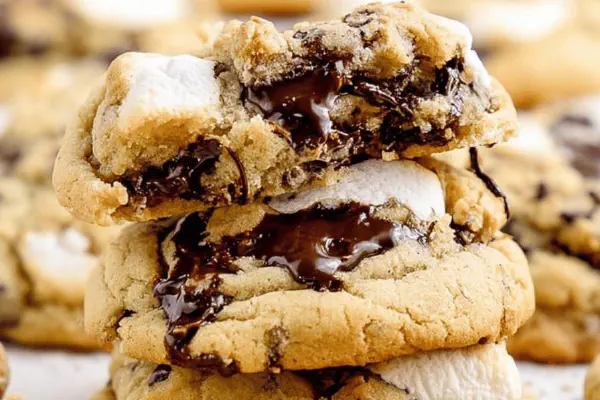
Chocolate Marshmallow Cookies
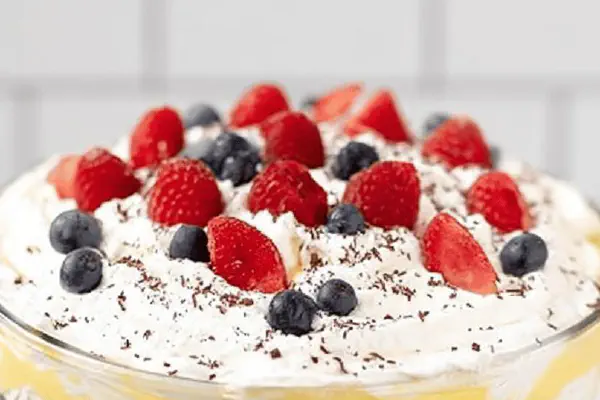
Vanilla Berry Trifle Remix
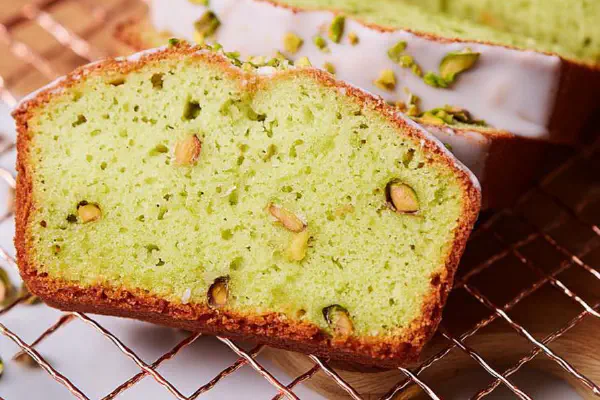
Pistachio Loaf Cake
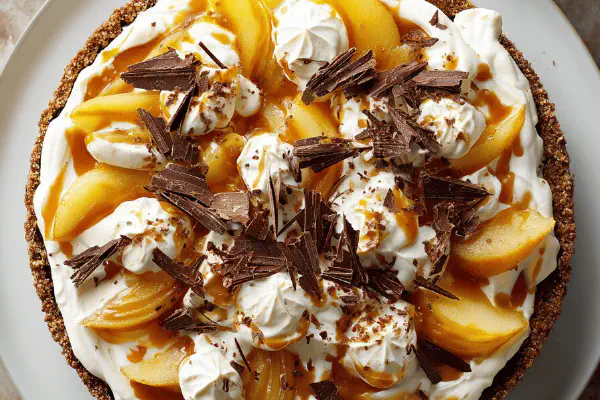
Pear Caramel Cake with Cream Cheese Whip
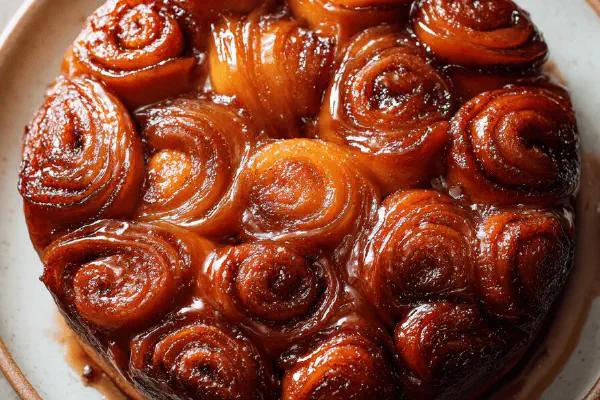
Upside-Down Cinnamon Brioche
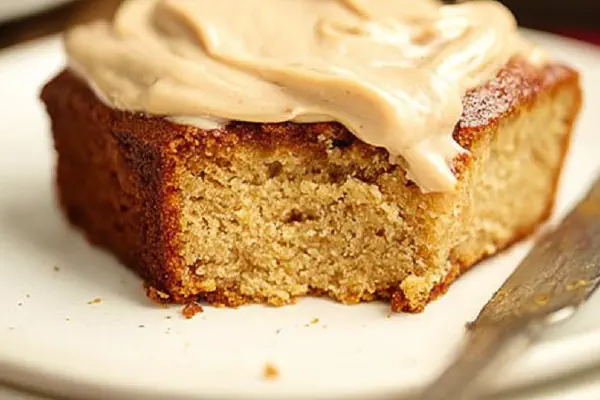
Apple Butter Spice Cake
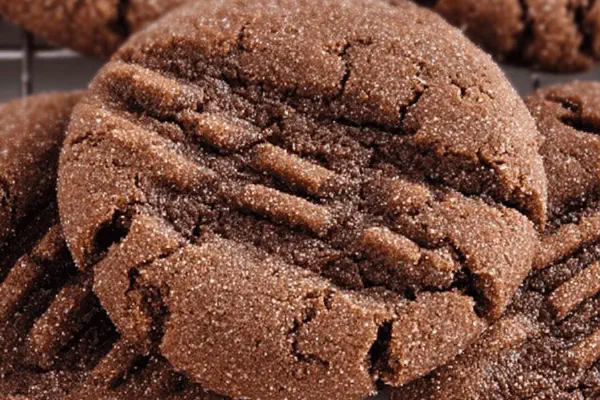
Chocolate Peanut Butter Cookies
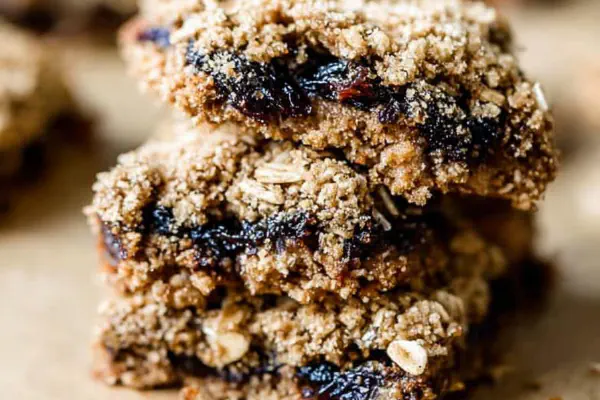
Prune Oatmeal Bars Twist
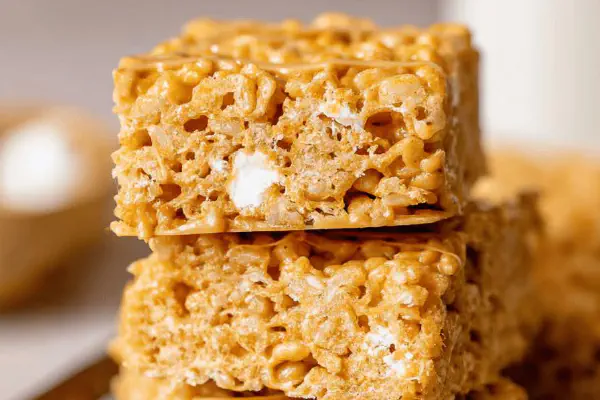
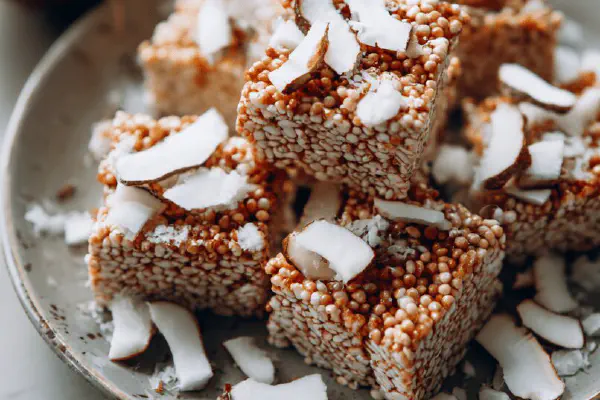
Brown Butter Nutty Crispy Bars
Brown Butter Oat Cookies

Nutty Butter Bites
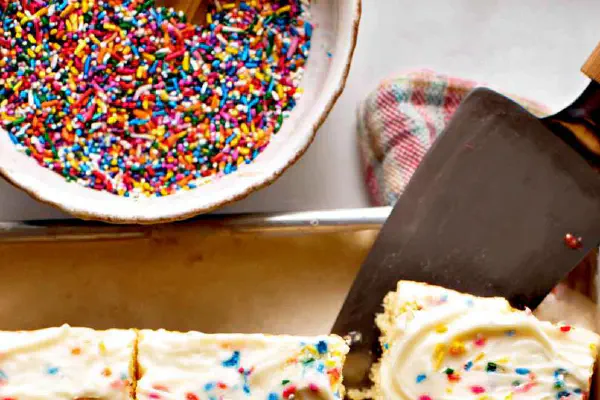
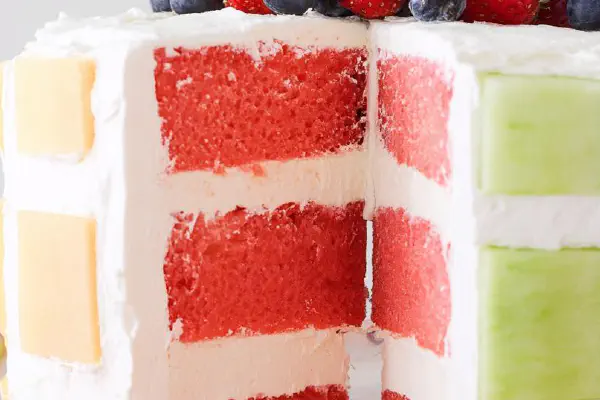
Confetti Sheet Cake Remix
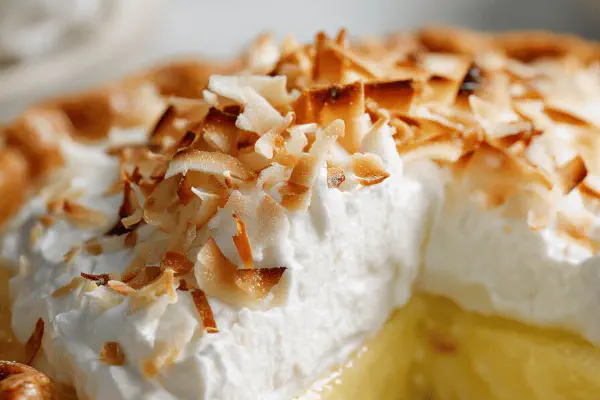
Coconut Cream Pie Twist

Peanut Butter Swirl Brownies
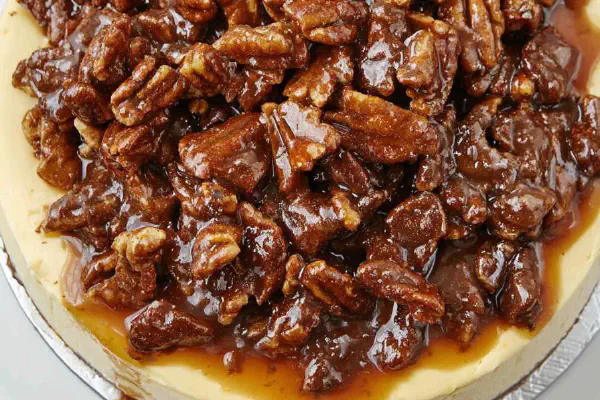
Pecan Pie Cheesecake
Twisted No Bake Cookies
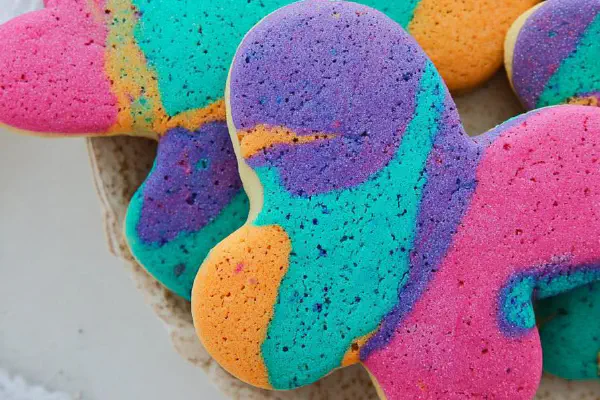
Twist Tie-Dye Cookies
Marshmallow Rice Crispy Bars Twist
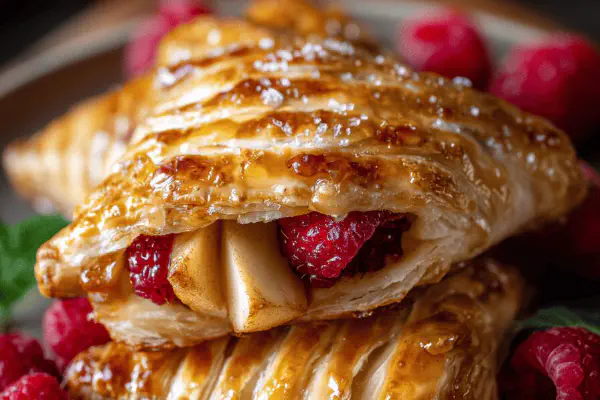
Maple Apple Turnovers
Layered Melon Stack
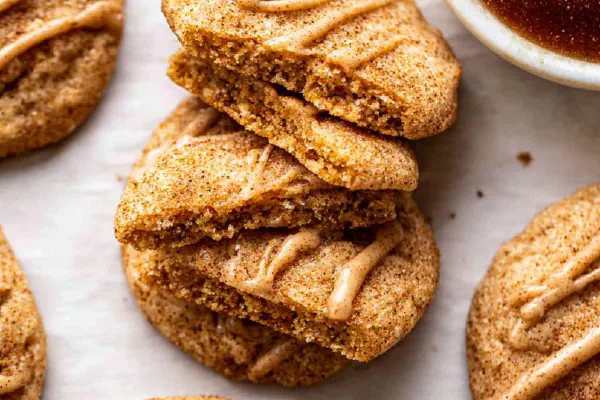
Apple Butter Snickerdoodles
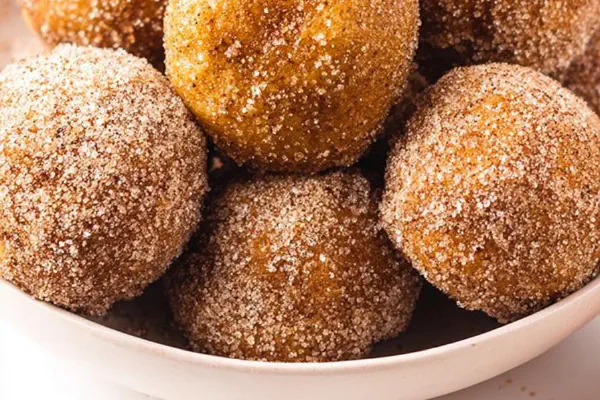
Pumpkin Spice Donut Bites
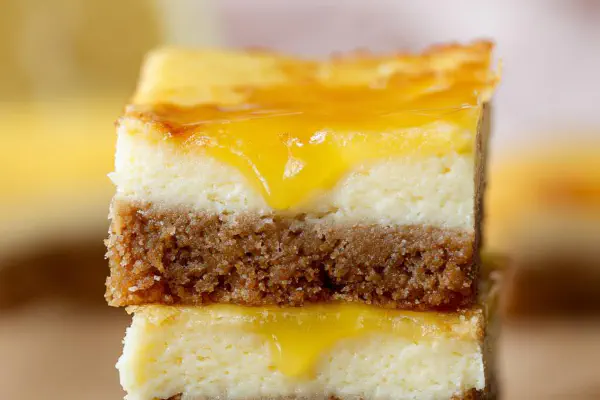
Lemon Cream Cheese Bars
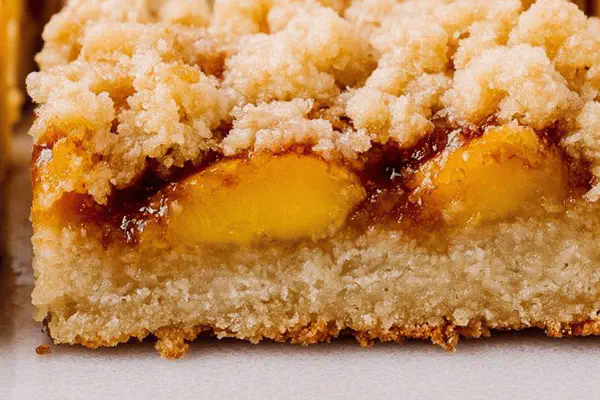
Peach Crumble Bars
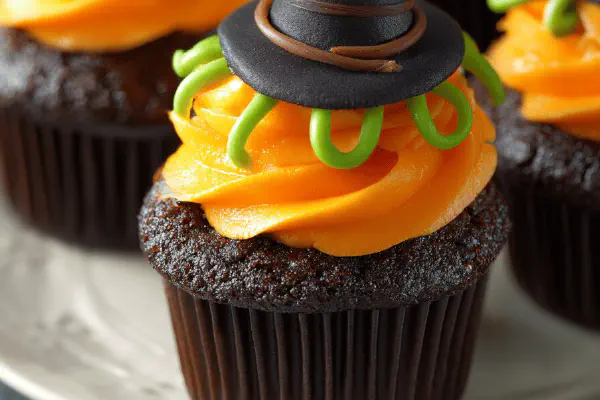
Witch Hat Cupcakes
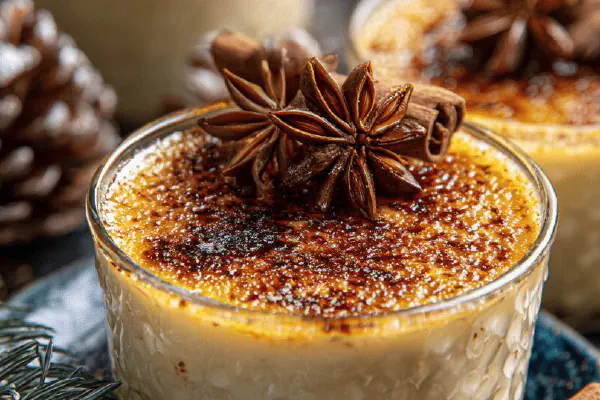
Spiced Rum Eggnog Crème Brûlée
Coco-Choco Brownies Remix
About the ingredients
Heavy cream quality affects final mouthfeel—full fat crucial for creaminess, not heaviness. Sweetened condensed milk is natural sweetener and thickener; alternatives like coconut condensed milk work but alter flavor and texture. Vanilla replaced with raspberry and lemon extracts here—brightens taste and cuts through sweetness. Gel food coloring preferable; less contamination of mix consistency. Replace blue with green gel for aesthetic shift—both stable in freezer. Parchment paper mandatory in loaf pan for easy lifting, preventing mess and cracking. Sprinkles optional but add crunch and visual pep. Cotton candy extract swapped to keep flavors less cloying but still playful. Storage: reshaping ice cream with spatula can compact and toughen texture. Loosely cover, avoid air space to prevent freezer burn. Useful tip: keep bowl and beaters chilled. If too warm, cream turns grainy or just won’t whip right.
Method
Preparation
- Line a loaf pan with parchment paper, leave edges hanging over sides—makes removing later easy.
- Using a chilled bowl and beaters, whip heavy cream until soft peaks form—look for lifted peaks that just hold shape but still droop slightly, about 3-4 minutes. Overwhipping turns into butter.
- Add sweetened condensed milk, vanilla, raspberry extract, lemon extract. Stir gently until fully combined.
- Divide mixture evenly into two bowls.
- Add pink gel color to one bowl, green to the other. Use gel over liquid to avoid thinning mixture.
- Spoon pink mixture into the loaf pan. Level with spatula; don’t press down too hard, keep airy.
- Drop spoonfuls of green mixture onto pink in random spots. Use spoon to swirl gently—light figure eights or circular motions. Don’t over swirl or colors will fully blend.
- Lay cling wrap directly onto ice cream surface to prevent ice crystals forming. Cover pan tightly with foil for insulation.
- Freeze at least 2 hours, ideally 3. Firmer texture signals ready to scoop.
- Pull parchment up to lift ice cream out; slice with hot knife to avoid tearing. Top with sprinkles or chopped nuts if desired.
- If freezer temps fluctuate, ice crystals may develop—licking and refreezing keeps texture intact.
Mixing the base
Layering and swirling
Freezing
Serving
Technique Tips
Whip cream until soft peaks—this stage means peaks fold over but stand tall, gives airiness without rigidity. Avoid overwhipping past stiff peaks; butter separates. Folding in condensed milk gently retains air—use plastic or silicone spatula. Dividing base before coloring ensures uniform portions and predictable color saturation. Using gels keeps color vibrant and doesn’t dilute. Parchment lining saves cleanup and prevents sticking; crucial when frozen solid. Swirling: drop spoonfuls of contrasting color rather than pouring to isolate colors for marbling. Use spoon edge to pull lightly—too much blend dulls colors and texture. Cling wrap pressed onto surface prevents icy frost, stops moisture loss. Cover foil retains cold without freezer burns. Freeze 2-3 hours to firm properly—texture cues better than clocks here. Slice with hot knife to cut cleanly. Store leftovers properly sealed to keep flavor integrity. Thaw slightly at room temp before scooping if too hard.
Chef's Notes
- 💡 Chill the bowl, beaters before whipping—keeps cream firm, airy. Mix gently. Don’t overwhip past soft peaks; avoid butter. Folding condensed milk should be light, retain air. Split batter before coloring for even tones. Gel food color prevents liquid dilution.
- 💡 Layer smartly. Pink first, then drop green. Swirl lightly; figure eights work for contrast. Overmix? Colors blend, muddy results follow. Be patient while freezing. Aim for at least two hours. Texture matters for scooping. Less time? Too soft.
- 💡 Storage isn’t just about the freezer. Parchment lining helps lift ice cream later. Wrap it tight to avoid ice crystals. Want firmer ice cream? Freeze longer. Thaw before serving for easier scooping. Improper sealing breeds freezer burn. Not ideal.
- 💡 Clean your tools. Use silicone spatulas to gently scrape bowls. Avoid metal, can scratch surfaces. Note—quality of heavy cream impacts final texture—go for full fat. Alternatives, like coconut condensed milk? Different flavor, still good but changes original concept.
- 💡 Finishing touches matter. Sprinkles and nuts add crunch and color contrast. Want a flavor twist? Experiment with extracts—almond, orange, or even mint. Each adds something unique—layer the fun in flavors too.
Kitchen Wisdom
How to prevent ice crystals?
Use cling wrap on surface. Wrap with foil tightly. Keep freezer at consistent temp. Fluctuations ruin the texture.
What if it’s too hard to scoop?
Let it sit at room temp. Few minutes only. Warmth helps get consistency back. Firm but still creamy is key.
Best way to lift ice cream from the pan?
Pull parchment edges gently—ice cream comes out easier. Hot knife slices cleaner than cold. Keep it firm but not rock solid.
Other ways to serve or flavor?
Layer toppings like fruit, sauces. Swaps with flavor extracts alter taste. Fudge, caramel, or even citrus. Options endless.
You’ll Love These Too
Explore all →
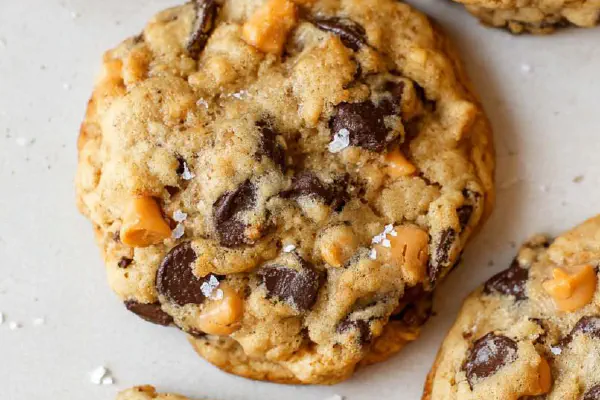
Chunky Caramel Chocolate Cookies
Chicken Dumpling Stew
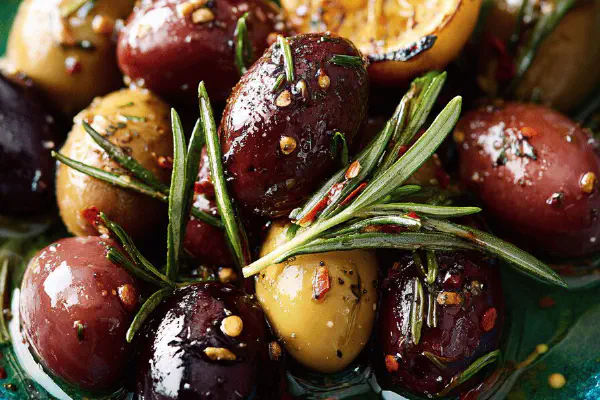
Spiced Warm Olives
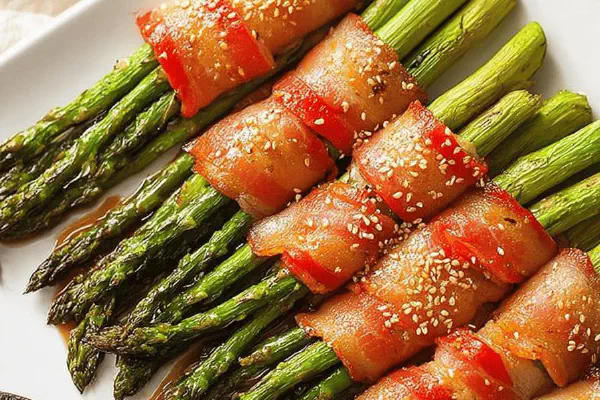
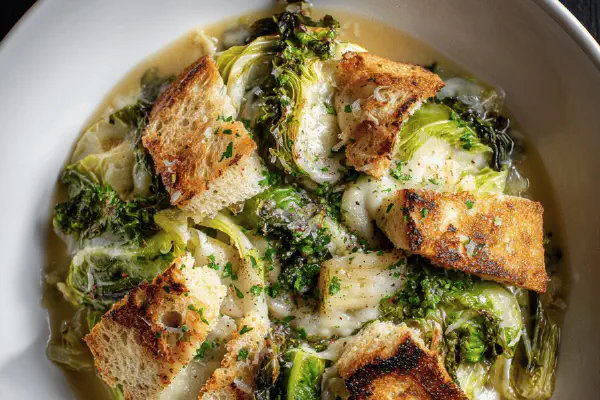
Bacon Wrapped Asparagus Twist
Beer Chicken with Apricots
Rustic Vinaigrettes Mixup
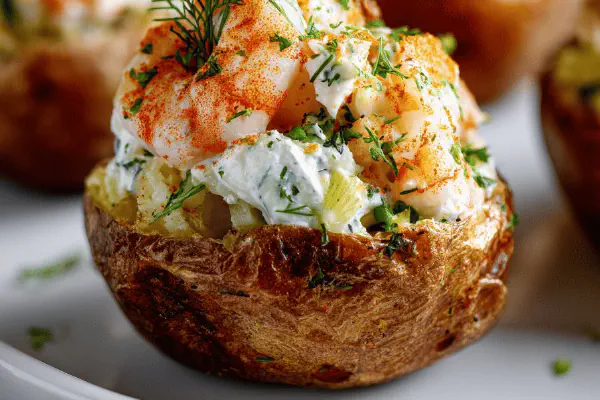
Nordic Shrimp Stuffed Potatoes
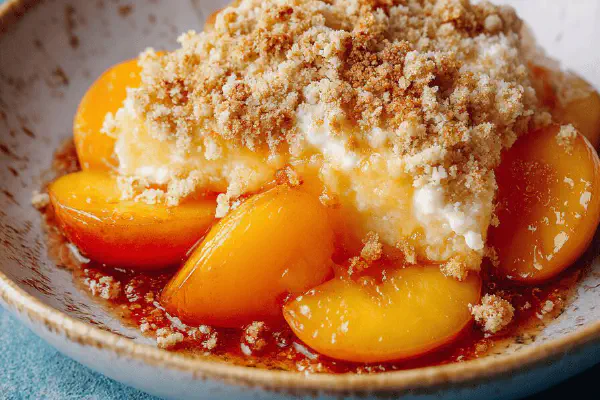
Nectarine Apricot Pouding-Croustade
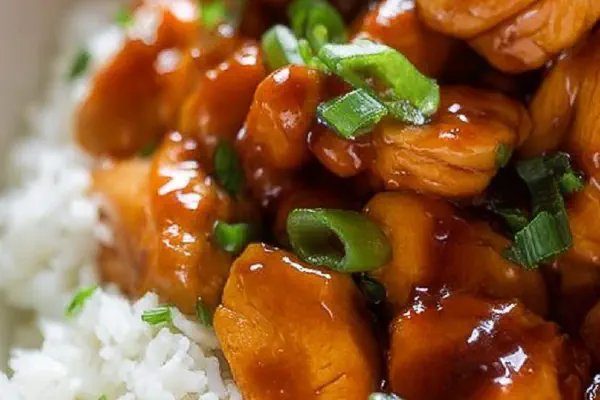
Spicy Honey Chicken Remix
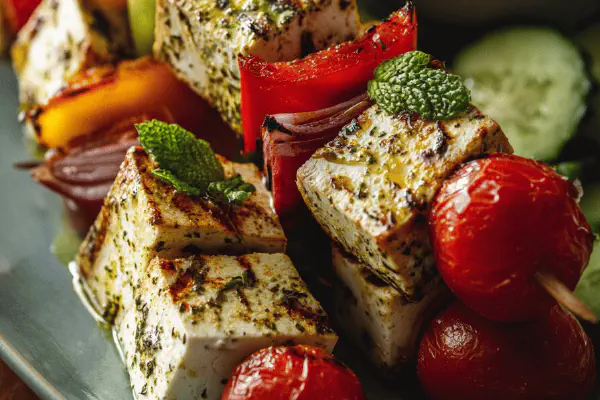
Tofu Souvlaki Skewers
Quick Pickled Bean Sprouts
Pumpkin Cream Cheese Cookies
Hearty Cabbage Roll Bake
Creamy Chicken Pot Pie
Brown Butter Herb Infusion
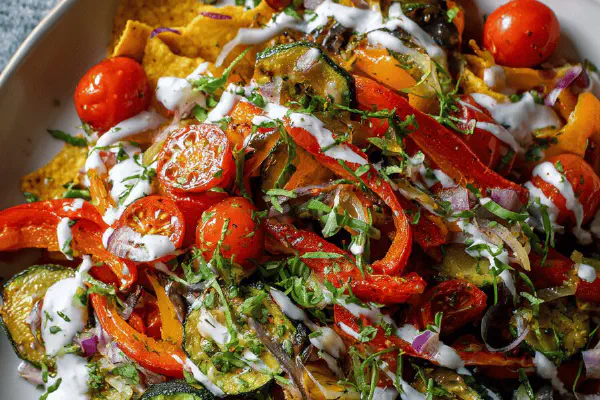
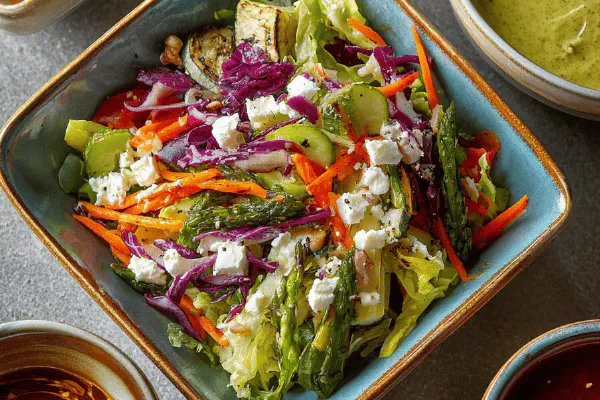
Grilled Pepper Zucchini Salad
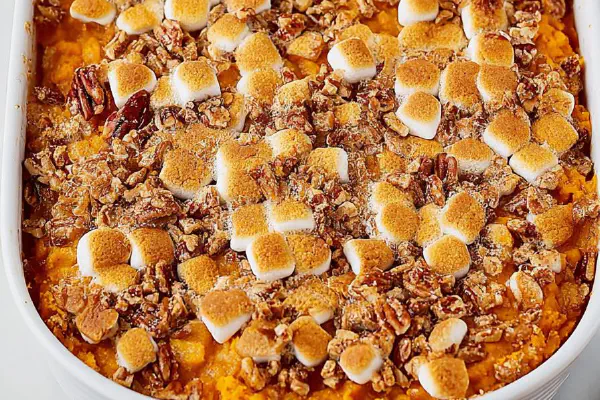
Sweet Potato Pecan Bake
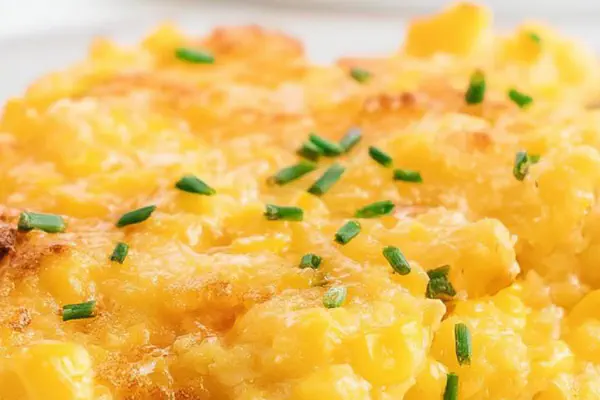
Cheesy Corn Bake
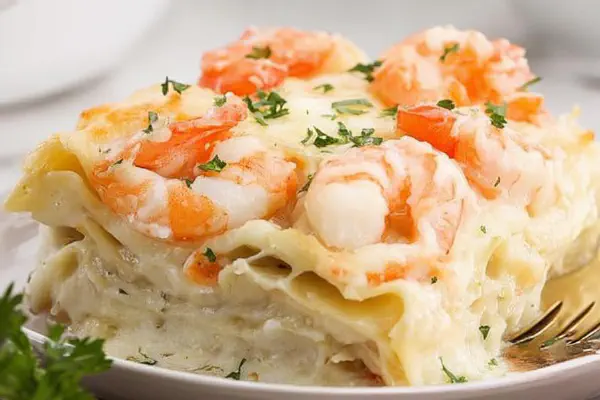
Seafood Lasagna Twist
Country Cabbage Soup Twist
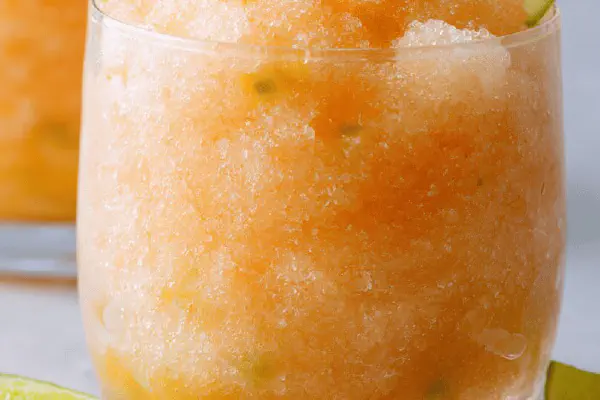
Fruity Rum Slush
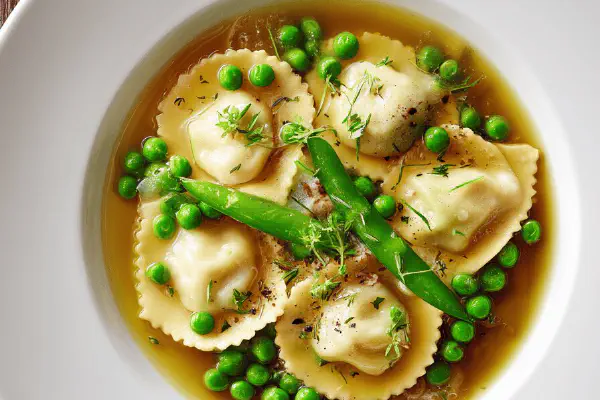
Pea Ravioli Broth
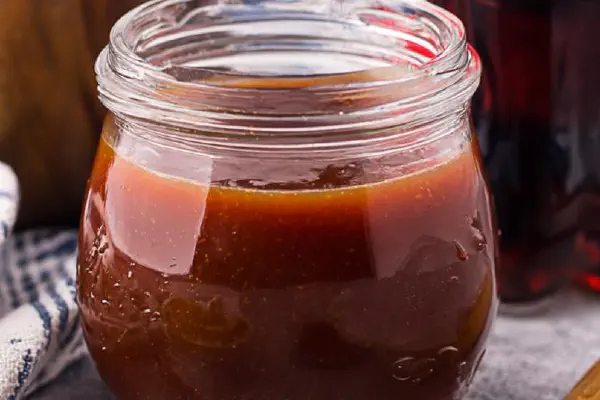
Cola BBQ Sauce Remix
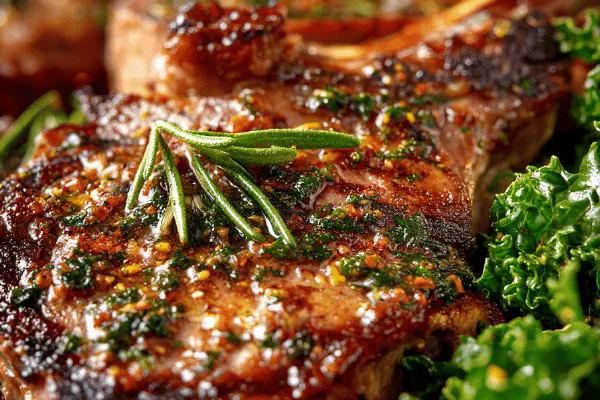
Grilled Lamb Leg Twist
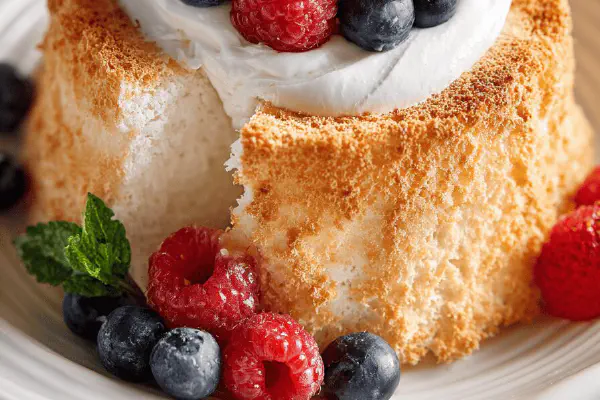
Angel Food Cake Remix
Pumpkin Cream Cheese Frosting Upgrade
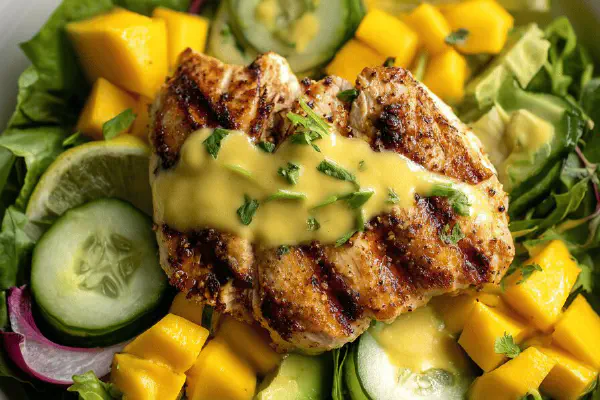
California Chicken Salad Twist

Indian-Spiced Fish Curry
Confetti Sheet Cake Remix